Though we never had a fig salad when I was a kid, this dish brought back a lot of memories.
The Food (Jhan)
I was at the farmers market recently looking for seasonal fruit and noticed that there were stalls full of beautiful ripe figs - the aroma was lovely. I scooped some up and, figs in hand, scooted home to find a recipe that would do them justice.
I came across everything from fig pizza (eds. note: Fig pizza?!? You never told me about this! Why didn't we have that??) to recipes for breakfast dishes that could only be intended for old people with fragile digestive systems.
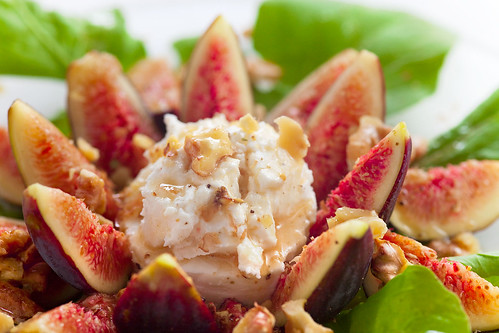
Since I wanted a dish that would show off the fruits' sweetness and color as well as being savory and satisfying, I was delighted to find a salad recipe that incorporated the figs with a creamy goat cheese, toasted walnuts and a flavorful vinaigrette. This sounded so good that I popped for the pricey walnut oil and sherry vinegar ($10.99 and $8.99 - who buys this stuff??). But the cost was well worth it. The salad had a nice mix of sweet figs, spicy dressing, soft cheese, toastey, crunchy nuts and pungent arugula.
I tweaked this recipe somewhat so here's my version:
Salad
1 cup cleaned and sorted arugula
1/3 -1/2 cup walnut halves, toasted, broken into chunks
2 oz peppered goat cheese
3-4 ripe figs,quartered
Dressing (prepare earlier to allow flavors to blend )
1clove garlic, minced
1 small shallot,minced
1 tsp good quality Dijon mustard
kosher salt
ground pepper
3tbsp sherry vinegar
1/4 cup walnut oil
Mix vinegar, garlic, shallot, salt , pepper and mustard. Wisk in oil. Drizzle over salad.
This recipe make a lot of dressing - save the remainder to use for mixed green salads or over tropical fruit.
Original recipe found at recipezaar.com
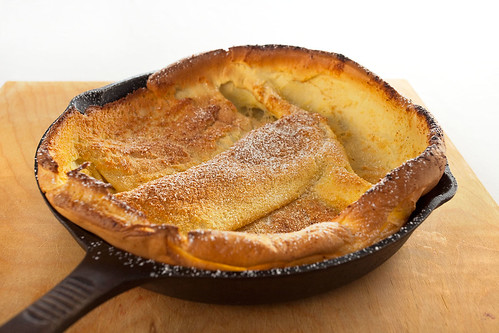
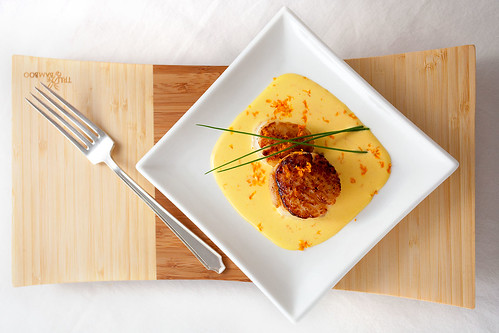
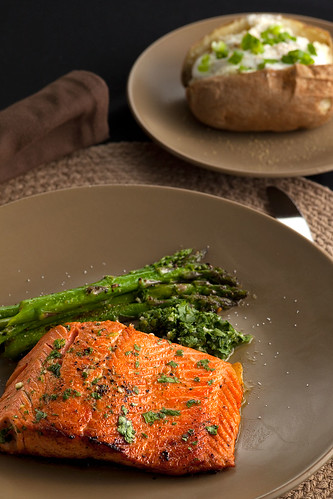
The Plating
This was yet another case where I had no clue what to do with the dish. Jhan has her ideas of how the dish should look, but it's a rare instance when I can actually understand - much less implement - what she envisions. I'm not sure why that is, but I think she's trying to use some form of telepathy to communicate - a form that (as a male) I'm unable to receive.
As a result, I had to sort of make it up as I went along. Fortunately, it worked out OK.
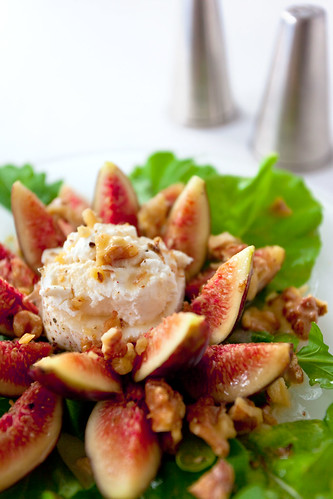
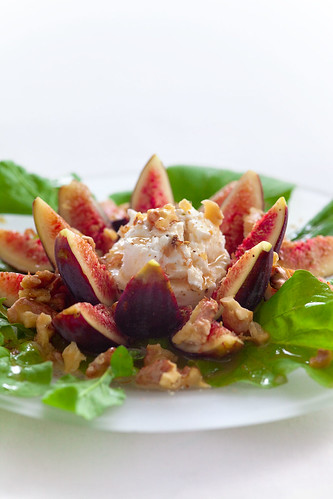
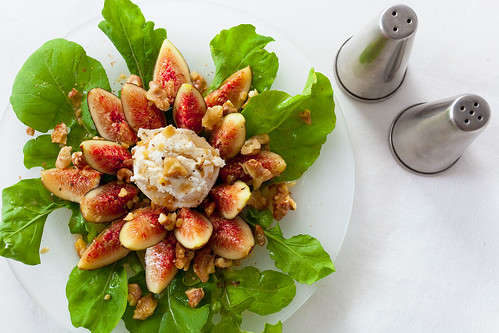
We had barely enough arugula to lay on the plate, so I put it down in a circular bed to make it look a bit bigger and to hide the stems under the rest of the dish. I cut the figs in quarters and arranged them in a rosette and put a blob of goat cheese in the center with the walnuts and dressing on top. Very simple, but it came out looking very appealing.
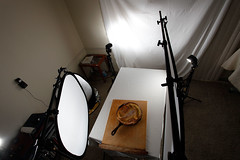
The Lighting and Photography

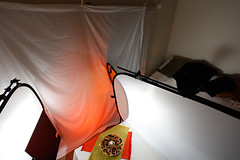
As a result, I ended up with a fairly typical 'surround sound' lighting set up. The key light was placed to the left-rear and bounced off a sheet for extra softness (sounds like a toilet paper ad). The main fill was placed to the rear and shot through a reflector. And finally, I used a third light, dropped a couple of stops and shot through a reflector to fill in some of the shadows on the front side of the salad. I also placed a reflector to the left of the dish to give a bit of fill on that side as well.
I used bit of PS levels adjustments to bring up the shadows a bit more in processing.
Overall, I think it came out pretty well.