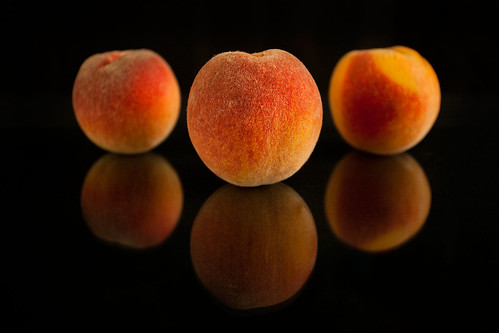
However, we were able to get to the Chico farmer's market last Saturday to pick up some beautiful ripe organic frost peaches from Berryluscious Farm in Gridley. Before we sliced them up for a delicious hot-weather dessert (that will be in our next post), I decided to try to get a few nice shots of them in the studio.
So, no recipes this time - just lighting.
Shot 1 - Peaches on Glass
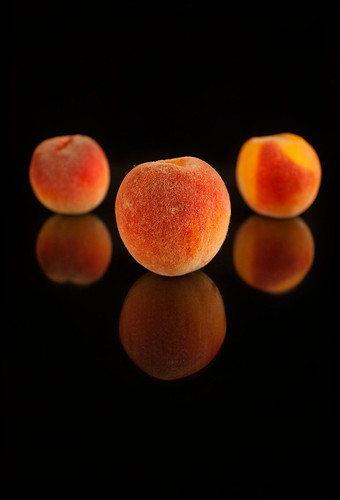
I found an image of peaches reflecting in glass on the Internet and decided that I liked the concept. So I did my own take on it.
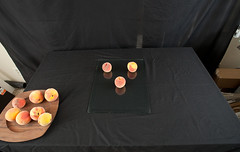 There really isn't any plating here, just a piece of glass. The small piece of glass used in this shot is actually from a small end table that I bought when I first started this blog. The idea was that I'd use the glass to place thinly sliced pieces of fruit on and then place a light behind the glass and get some cool backlit shots. Never happened. However, it came in very handy for this shot.
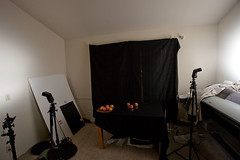 For the lighting, I placed a 580EX to the right of the peaches, reflected off the wall. I placed a 550EX to left and a bit farther toward the front, and bounced it off the wall as well. Both flashes were fired at equal power. The light appears to be slightly stronger from the right because that light is closer to the peaches.
I like the softness of the light because it accentuates the softness of the fruit. Over all, I think this was very successful.
Shot 2 - Backlit Peaches
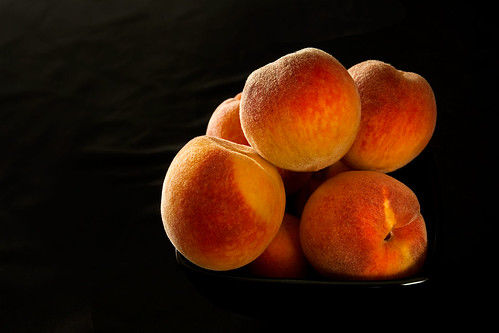
In portraiture, backlights are often used as 'hair lights' to bring out the texture in a person's hair. And that's how I used backlighting here. Typically in food photography, backlighting is used to bring out specular highlights to show how juicy and moist the food is, but in this case I used it to show the texture of the peach fuzz.
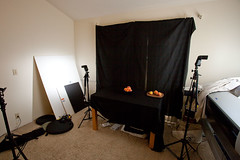 I didn't change the lighting dramatically from the first shot. I did move the left light directly opposite of the peaches, instead of farther down the wall as in the first shot. I also changed the lighting ratio, making the left light 1.5 stops brighter than the right fill. Other than that, I mostly just changed the angle that I was shooting from. Instead of standing directly in front of the table, I stood at the right corner of the table and shot back toward the bowl of peaches.
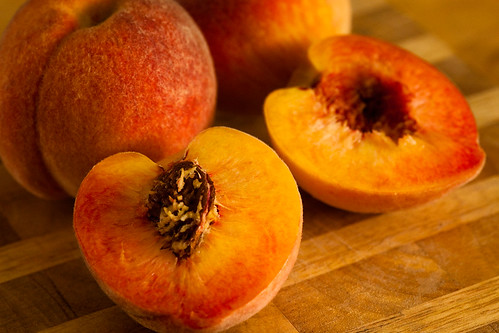
Shot 3 - Cut Peaches on a Cutting Board
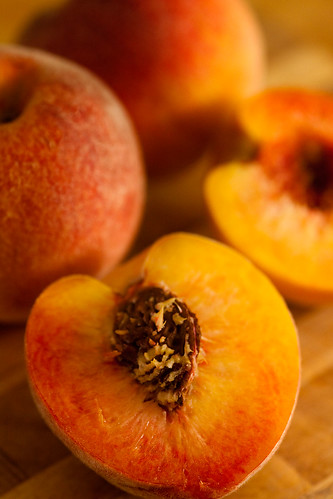
I wanted to get a few shots of cuts peaches, but I had to cut several to get one that didn't have some internal bruising. I placed the pieces on a very small cutting board, but had to put that on a larger cutting board to avoid getting a black background.
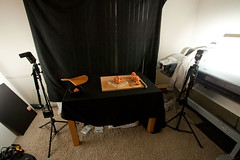 For this shot, I made a few small, but important, changes in the lighting. First, I lowered the right light significantly in order to get a slightly sharper side lit effect. I wanted to bring out the shadows more in this shot, and bringing the lights down to the level of the food does that. Once lowered, the light was bouncing off my printer, so I added a piece of white foam core as a reflector. Also, since I wanted the right light to be the key in this shot, I changed the lighting ratios so that the right light was 1 stop brighter than the left light.
Lessons Learned
- Glass will have dust on it no matter how thoroughly you clean it.
- No peach is perfect and you are always going to have to clone out bruises or other imperfections.
- Place lights at the same height as the food to get more pronounced shadows (and textures).
No comments:
Post a Comment